Drifting silently around a haunted house are these simple and cute DIY Halloween treat boxes using popular geometic shape templates. These little hungry ghosts have swallowed your Halloween treats but you can probably see what they've eaten...! They are made with translucent wax papers you can make easily from normal printed papers.
The top and bottom pyramids of this isocahedron shape are simply folded and closed up using thread. It’s more like an origami box (with a little cheating of a few tabs). You can open and close the box repeatedly and it can also stand up on its ghostly ‘legs’. A quick project for Halloween treats.
While making these it soon became obvious that these ghosts needed to be translucent because that’s how ‘real ghosts’ are, right? Making them translucent was also quick and easy! I’ll explain how.
How to make wax paperand translucent ghost boxes
1
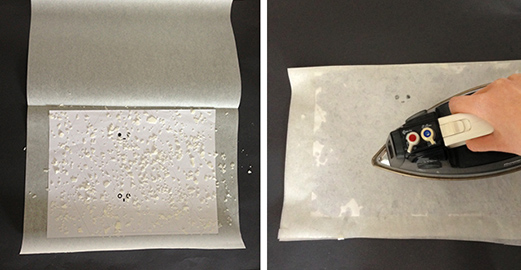
First print your template onto any paper, white or colored. Place it on a large sheet of grease-proof/baking paper and sprinkle little chips of wax all over.
You can grab a plain white candle and shave some bits off for this. You don’t need much. If you’re thinking of buying some wax, check where & how the soy beans are grown as some are not environmentally friendly. Sustainably grown palm wax is also a good eco option.
2
Place another sheet of grease proof paper on top and iron all over it on a low setting. Be careful not to put too much wax, the wax may leak around the edge. Keep some kitchen towel to thoroughly wipe off the excess from the finished paper. Start with a small amount, add as you go and protect the work surface with enough grease-proof paper!
3
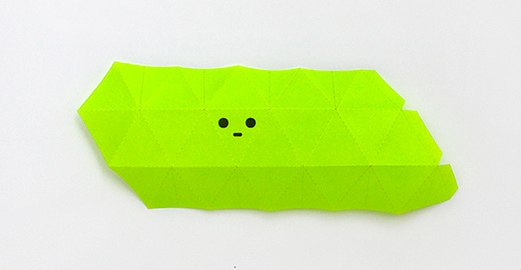
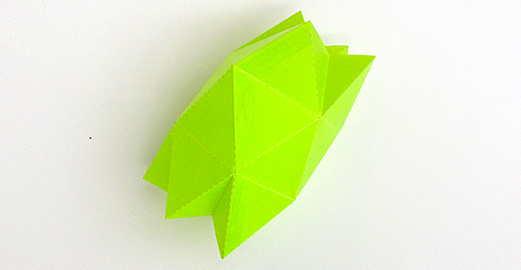
When the wax is dry, cut the template, score and fold all the lines. Fix the tabs to the other end with double-sided tape. Glue sticks won’t work so well on waxed paper.
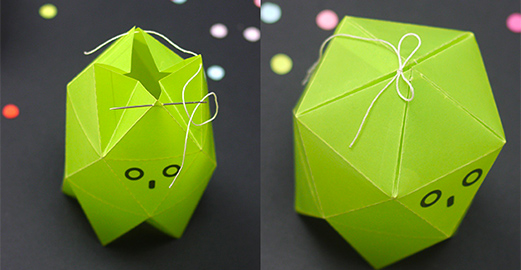
Thread a string through the top as in the photo. Pull to close it and tie up, leave it long if you’re thinking of hanging these up.
Fill in the ghost box with a couple of treats and use some colorful pompoms together to stuff it fully so the colors show through.
Thread and tie the bottom end to close up. Tie with a ribbon knot so it’s easy to pull the thread to open it.
We don’t want kids to be too intoxicated with sugar overload at Halloween but don’t want to disappoint them either by being too stingy with the treats. You can put one or two candies in this treat box and stuff the rest with pretty pompoms. Children will end up getting less sweets but without any disappointment! ; )
After taking out your treats, your friendly ghosts can stand up. You can decorate your Halloween table with them or have them as your desk pals.
Hang them up as a mobile or garland for your Halloween party!
Change their colors by putting different things inside. Lightweight pompoms don’t fall out even when the bottom is open like the picture below.
You can also attach the empty ones to the end of torches, maybe place on a long stick taped to the torch. Carry them around at night instead of a plain torch – they will look super spooky like these.
We placed one small pompom inside the ghost and the torch light reflects off it, making the whole ghost glow in color. Cool!
Hope you try & have loads of fun!
DOWNLOADS
Our free printables are strictly for personal use only.
By downloading you are agreeing to our Terms of Use .


